OXIGEN salud
Suction machine
OXIGEN salud
Suction machine
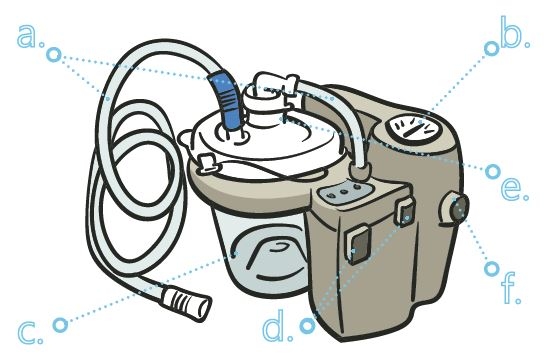
A suction machine is a device with a compressor that creates negative pressure or a vacuum. This device is made up of various parts:
The end of the connection tubing is attached to the suction catheter, which has a vent and acts as a control valve. The level of suction can be controlled with a finger over the vent.
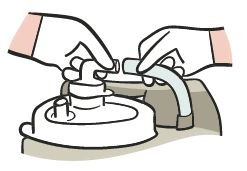
Connect the short plastic tubing to the canister and the suction machine. Using a filter here is recommended in order to protect the suction machine from respiratory secretions.
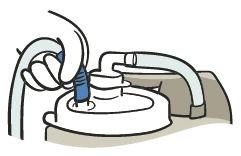
Attach the long plastic tubing to the connector on the canister and plug the machine in.
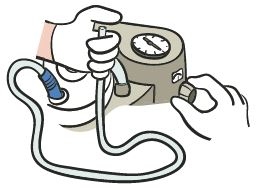
Turn the machine on and cover the end of the long connection tubing. Adjust the regulator to the recommended vacuum value. The suction is increased when you turn it clockwise; it is reduced when you turn it anti-clockwise.
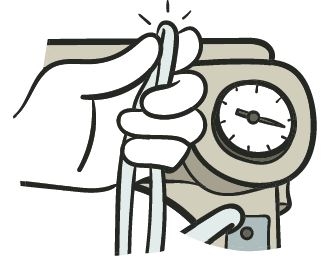
Check the negative pressure. To do so, pinch the end of the connection tubing and read the vacuum gauge. If the meter does not show the desired pressure, check that all the connections are airtight. If they are but the pressure is still not at the level required, turn the adjustment wheel until the vacuum gauge displays the right pressure.
Depending on the type of suctioning, certain steps must be followed when using the machine.
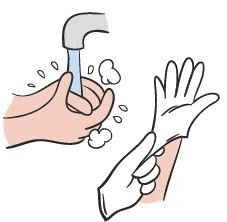
Wash your hands and put on disposable gloves.
Attach a clean suction catheter to the suctioning tube.
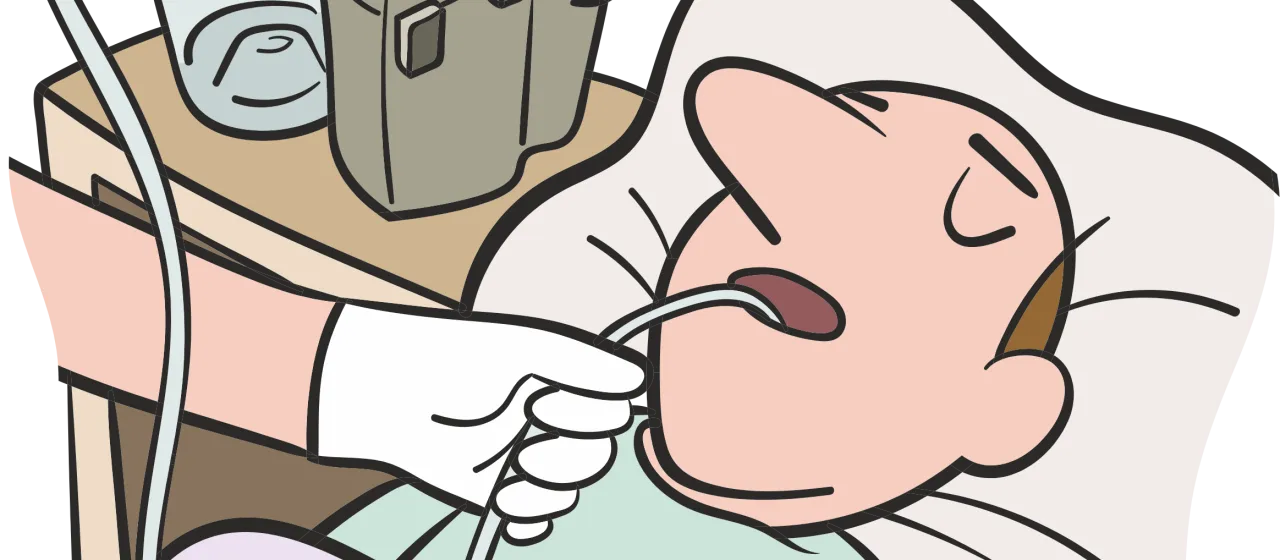
Carefully insert the catheter into the patient’s mouth.
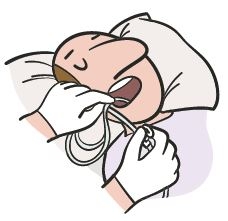
Slowly move the catheter towards the back of the mouth. This may cause them to retch or cough. In this case, you may wish to use a mask and/or protective glasses. Wait for the patient to recover before continuing.
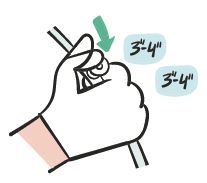
As you slowly withdraw the catheter, apply intermittent suction by covering and uncovering the vent with your thumb. Do not suction for longer than 15 seconds at a time. If any irritation occurs in the airways or the patient coughs, stop the process until they recover.
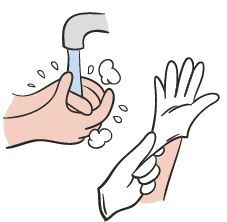
Wash your hands and put on disposable gloves.
Attach a clean suction catheter to the suctioning tube.
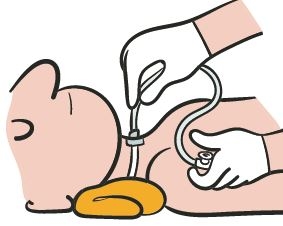
Carefully insert the catheter into the trachea (between 7 and 10 cm).
Suction as you withdraw the catheter from the airways. Do not suction for more than 10–15 seconds.
Repeat the process until the airways are clear.
The same catheter can be used to suction the mouth and the area around the tracheal tube. Once it has been used to suction these areas, it cannot be used to suction the trachea again.
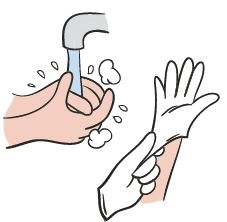
Wash your hands and put on disposable gloves.
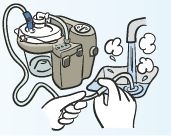
Disconnect the tubes and rinse them by suctioning hot water through them.
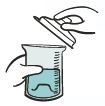
Remove the lid from the canister and separate it from the machine to avoid getting the bacteria filter wet.
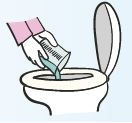
Empty and clean the canister at least once a day, or whenever the secretions reach the line on the canister. The fluids should be disposed of down the toilet, not down the sink.
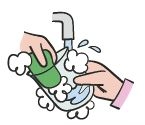
Wash the canister and lid with hot water and soap, rinse them, then dry the outside of them with a clean cloth before putting them back into place. A dirty or contaminated suction machine can be a source of respiratory infections.
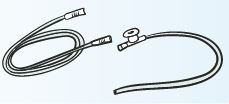
The long connection tubing should be replaced at least monthly, or when it can no longer be rinsed properly.
Protect yourself from germs by washing your hands before and after suctioning and handling catheters.
The suctioning should be carried out carefully and only if secretions are present. Otherwise, it may cause lesions or irritation in the patient’s airways.
Do not plug the machine into a wet socket or use it if it is wet.
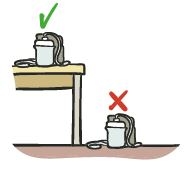
Place the machine on a flat, stable surface, such as a table. If placed on the floor, someone might trip over it.
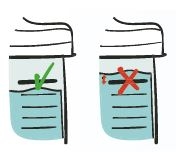
Do not allow the amount of secretions collected in the canister to exceed the indicated line. If this occurs, the secretions will enter the overflow container and the machine will stop automatically to prevent a possible failure.
Tighten all the connections to ensure proper suctioning. Check the vacuum pressure regularly. If it is not high enough, check all the seals.
Shall we call you?